What You’ll Need
1. Your server certificate
This is the certificate you received from the CA for your domain. You may have been sent this via email. If not, you can download it by visiting your Account Dashboard and clicking on your order.
2. Your intermediate certificates
These files allow the devices connecting to your server to identify the issuing CA. There may be more than one of these certificates. If you got your certificate in a ZIP folder, it should also contain the Intermediate certificate(s), which is sometimes referred to as a CA Bundle.
3. Your private key
This file should be on your server, or in your possession if you generated your CSR from a free generator tool. On certain platforms, such as Microsoft IIS, the private key is not immediately visible to you but the server is keeping track of it.
Installation Instructions
1. Log in to Plesk
Log in to Plesk, this can typically be accessed by going to https://domain.com:8443.
2. Click Website & Domains
In the Power User View, click Websites & Domains in the top navigation menu.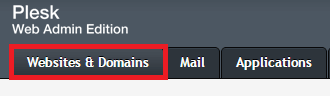
3. Navigate to the correct Domain
Navigate to the correct Domain Name by scrolling down and click Show More.
4. Select Secure Your Sites
Select Secure Your Sites as shown below. 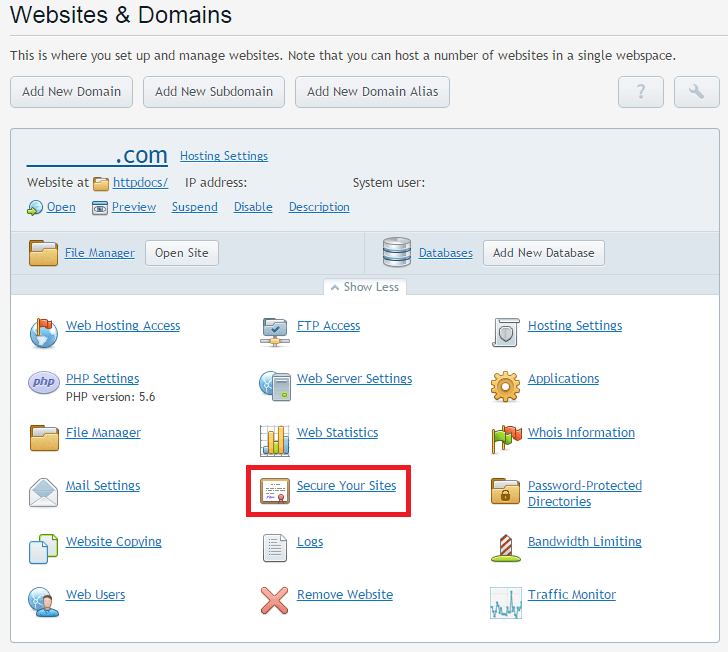
5. Click your Certificate Name
Click the Certificate Name associated with your previously created Certificate Signing Request (CSR).
6. Upload the Certificate Files
Upload the Certificate Files using either one of the two methods below:


- Upload the certificate files – This option will allow you to browse for your previously saved Certificate (Your Server Certificate) and CA Certificate (Intermediate Certificates).
- Upload the certificate as text – This option will allow you to copy your previously saved Certificate (Your Server Certificate) and CA Certificate (Intermediate Certificates) from a text editor such as Notepad and paste into the blank text
- boxes.Note 1: If you received the certificate in a ZIP file, click “Extract All” and then drag your server certificate into a text editor such as Notepad. This will allow you to copy all text contents needed including “—–BEGIN CERTIFICATE—–“ and “END CERTIFICATE—–“. Note 2: If you forgot to save the intermediate certificates, download the appropriate CA Bundle for your certificate.
7. Click Send Files or Send Text
Depending on the option you chose in Step 6. Click either Send Files or Send Text.
8. Return to the Power User View
Return to the Power User View, click Websites & Domains, select your Domain Name, and click Show More.
9. Click Hosting Settings
Click Hosting Settings in the options menu that appears after you select Show More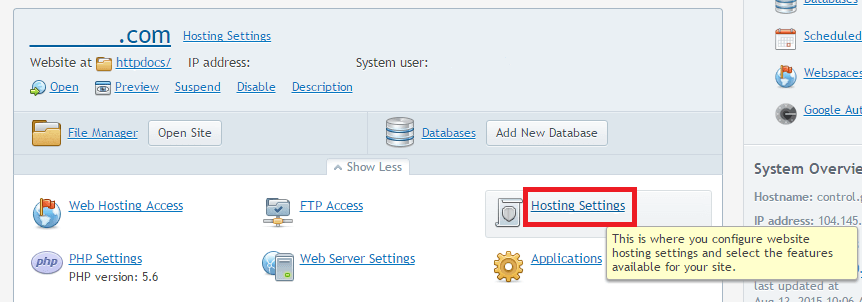
10. Check SSL Support
Check the option for SSL Support and select your newly uploaded Certificate Name in the Certificate drop-down menu.
11. Click OK
Scroll down and click OK.
Congratulations! You’ve successfully installed your SSL certificate! To check your work, visit the website in your browser at https://yourdomain.tld and view the certificate/site information to see if HTTPS/SSL is working properly. Remember, you may need to restart your server for changes to take effect.